Small Roof Repairs for Skilled Do-It-Yourselfers
Of all the things that can go wrong around the house, a leaky roof is among the most severe and time-sensitive. That’s because water damage spreads quickly, even from a small leak. If you’re a skilled do-it-yourselfer, you may be able to handle these small roof repairs yourself. Here’s what you should know.
Maintaining a sound roof will always be one of the most important duties of a homeowner. Your roof is crucial for you and your family’s comfort and safety, and it keeps everything inside the house dry.
Any signs of damage and wear must be addressed immediately to maintain the integrity of the roof. You don’t want water to make its way under the shingles and rot the wood sheathing beneath. If it does, that small repair could morph into a major (and much more expensive) roof replacement.
You can take one of two directions for small roof repairs: Call a roofing contractor or tackle the work yourself. Base part of the decision on how confident you are in your DIY skills and the remainder on the difficulty of the repair.
Here are a few suggestions to help you determine if you should call a professional for small roof repairs, or if you can do it yourself.
Know When to Call the Pros for Small Roof Repairs
If your roof is more than 20 years old and many of the shingles are damaged or worn, you probably need to replace it. That’s not a job for most do-it-yourselfers, so call a professional. If on the other hand, you’re dealing with a cracked or missing shingle, this is the type of small roof repairs that a relatively handy homeowner can take on.
But even with a minor roof repair, there are things to consider before you make the final decision to climb on top of your house:
- You Might Fall Off: Don’t laugh; broken bones aren’t funny. All it takes is one false step, and down you go.
- It’s Hard Work: Bending and maintaining your balance is a lot harder than it sounds. If you aren’t used to that kind of work, you could end up with a sore back.
- You Might Not Repair it Correctly: Even a slow leak could result in rotted wood or mold inside your house. Doing a repair that keeps out most of the water isn’t good enough.
- It Might be Covered: If the leak occurred after a storm, there’s a good chance you have insurance coverage for professional repairs.
- No Warranty: Professional roofers guarantee their work. If you’re not satisfied with your DIY repairs, you’re on your own.
A Few Words about Safety
So, you have decided to do the small roof repairs even after seeing the drawbacks. That’s fine, but before you get started, you need to think about your safety. Working on a roof is dangerous even under ideal conditions. Here are five safety measures that can ensure you complete the work without a mishap.
- Buy or rent a roofer’s ladder with a bracket that bridges the roof’s peak.
- Use a safety harness with a lifeline that’s secured to the base of a chimney or some other stable
- Climb to the roof on an extension ladder secured to the building in two places.
- Stay off the roof when it’s wet, icy, or covered with dew.
- Don’t walk on the roof any more than necessary—that will prevent slips and damage to the shingles.
You’re confident in your abilities, and you know how to stay safe. You’re ready to make some repairs. Just remember, it’s better to make them on a warm, dry afternoon when the shingles are supple and less likely to crack.
Fixing Curled Corners
As asphalt shingles age, their corners can curl up or down. Apply a small amount of roofing sealant ($5 for a 10-ounce tube) under the corner with a caulking gun. Weigh it down with a brick, and leave it in place for at least 24 hours. When the sealant dries, the job is done.
Repairing a Cracked Shingle
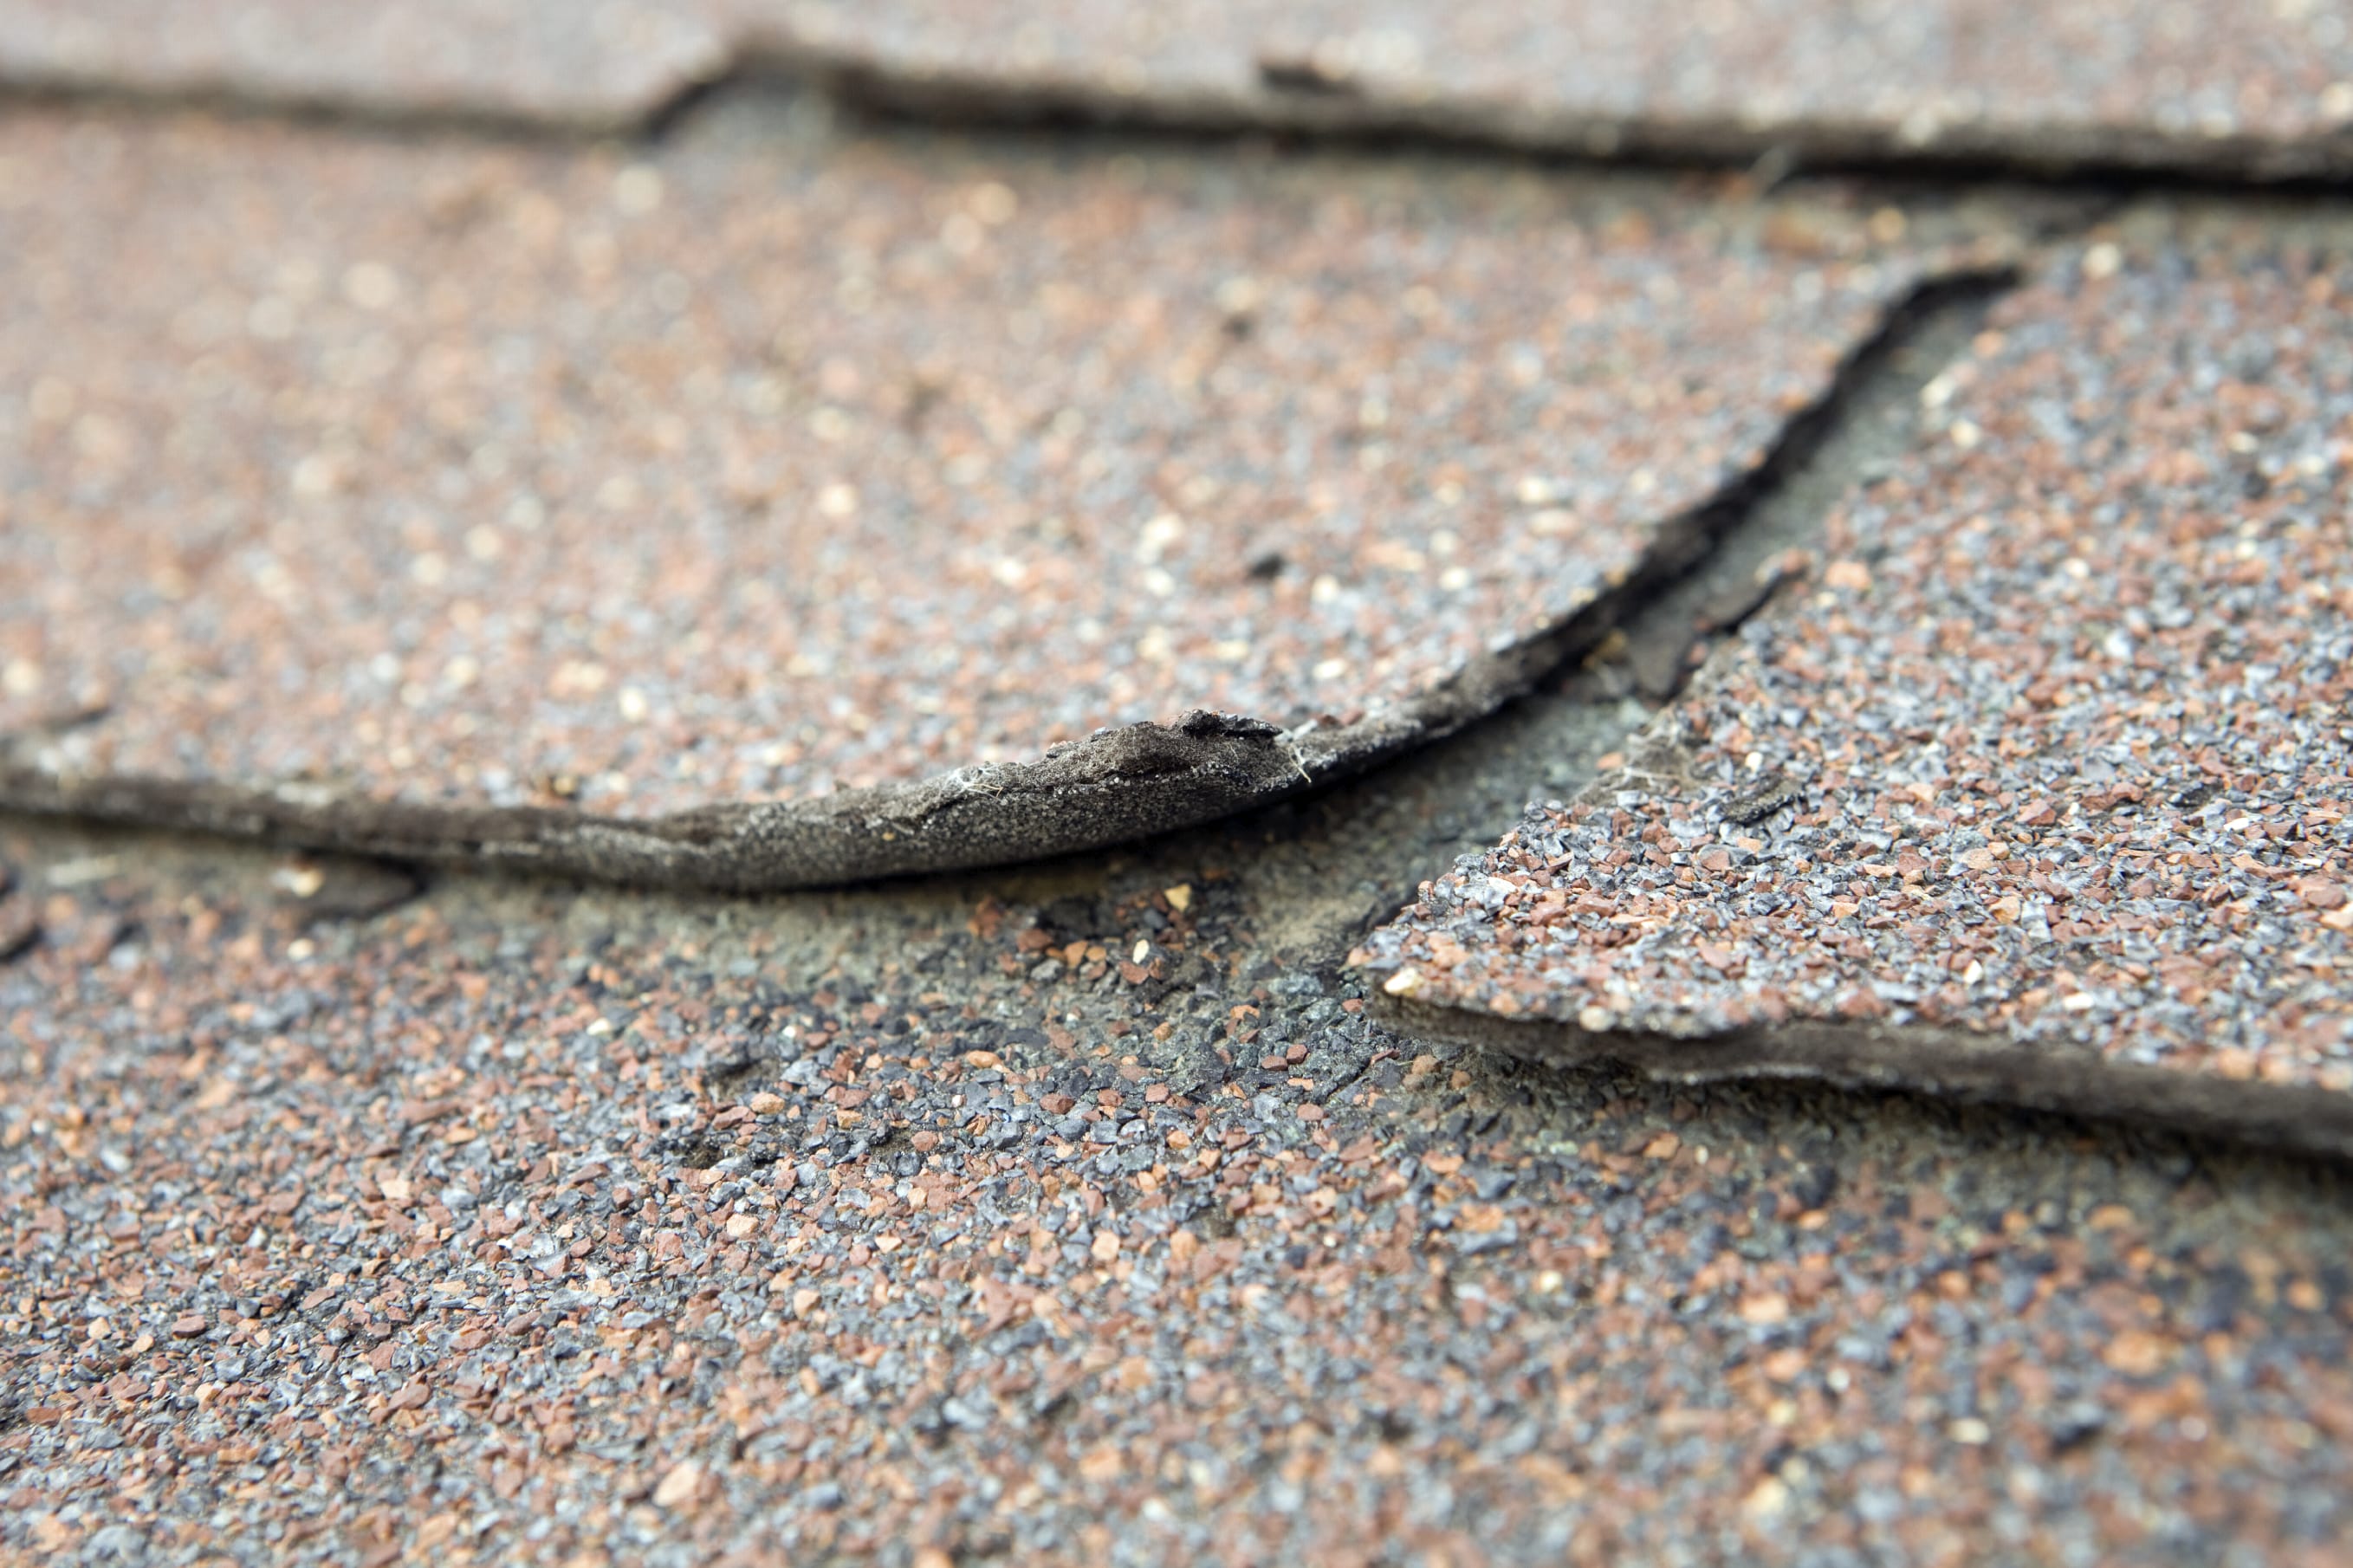
You don’t always have to replace a cracked shingle. Often you can repair it with roofing sealant. Apply a thick bead of roofing sealant under the crack, and press the shingle down. Apply another bead on top of the crack, and spread it with a putty knife.
Hide the repair by gathering the shingle granules that have washed into the gutter and sprinkling them over the sealant. No one will ever know.
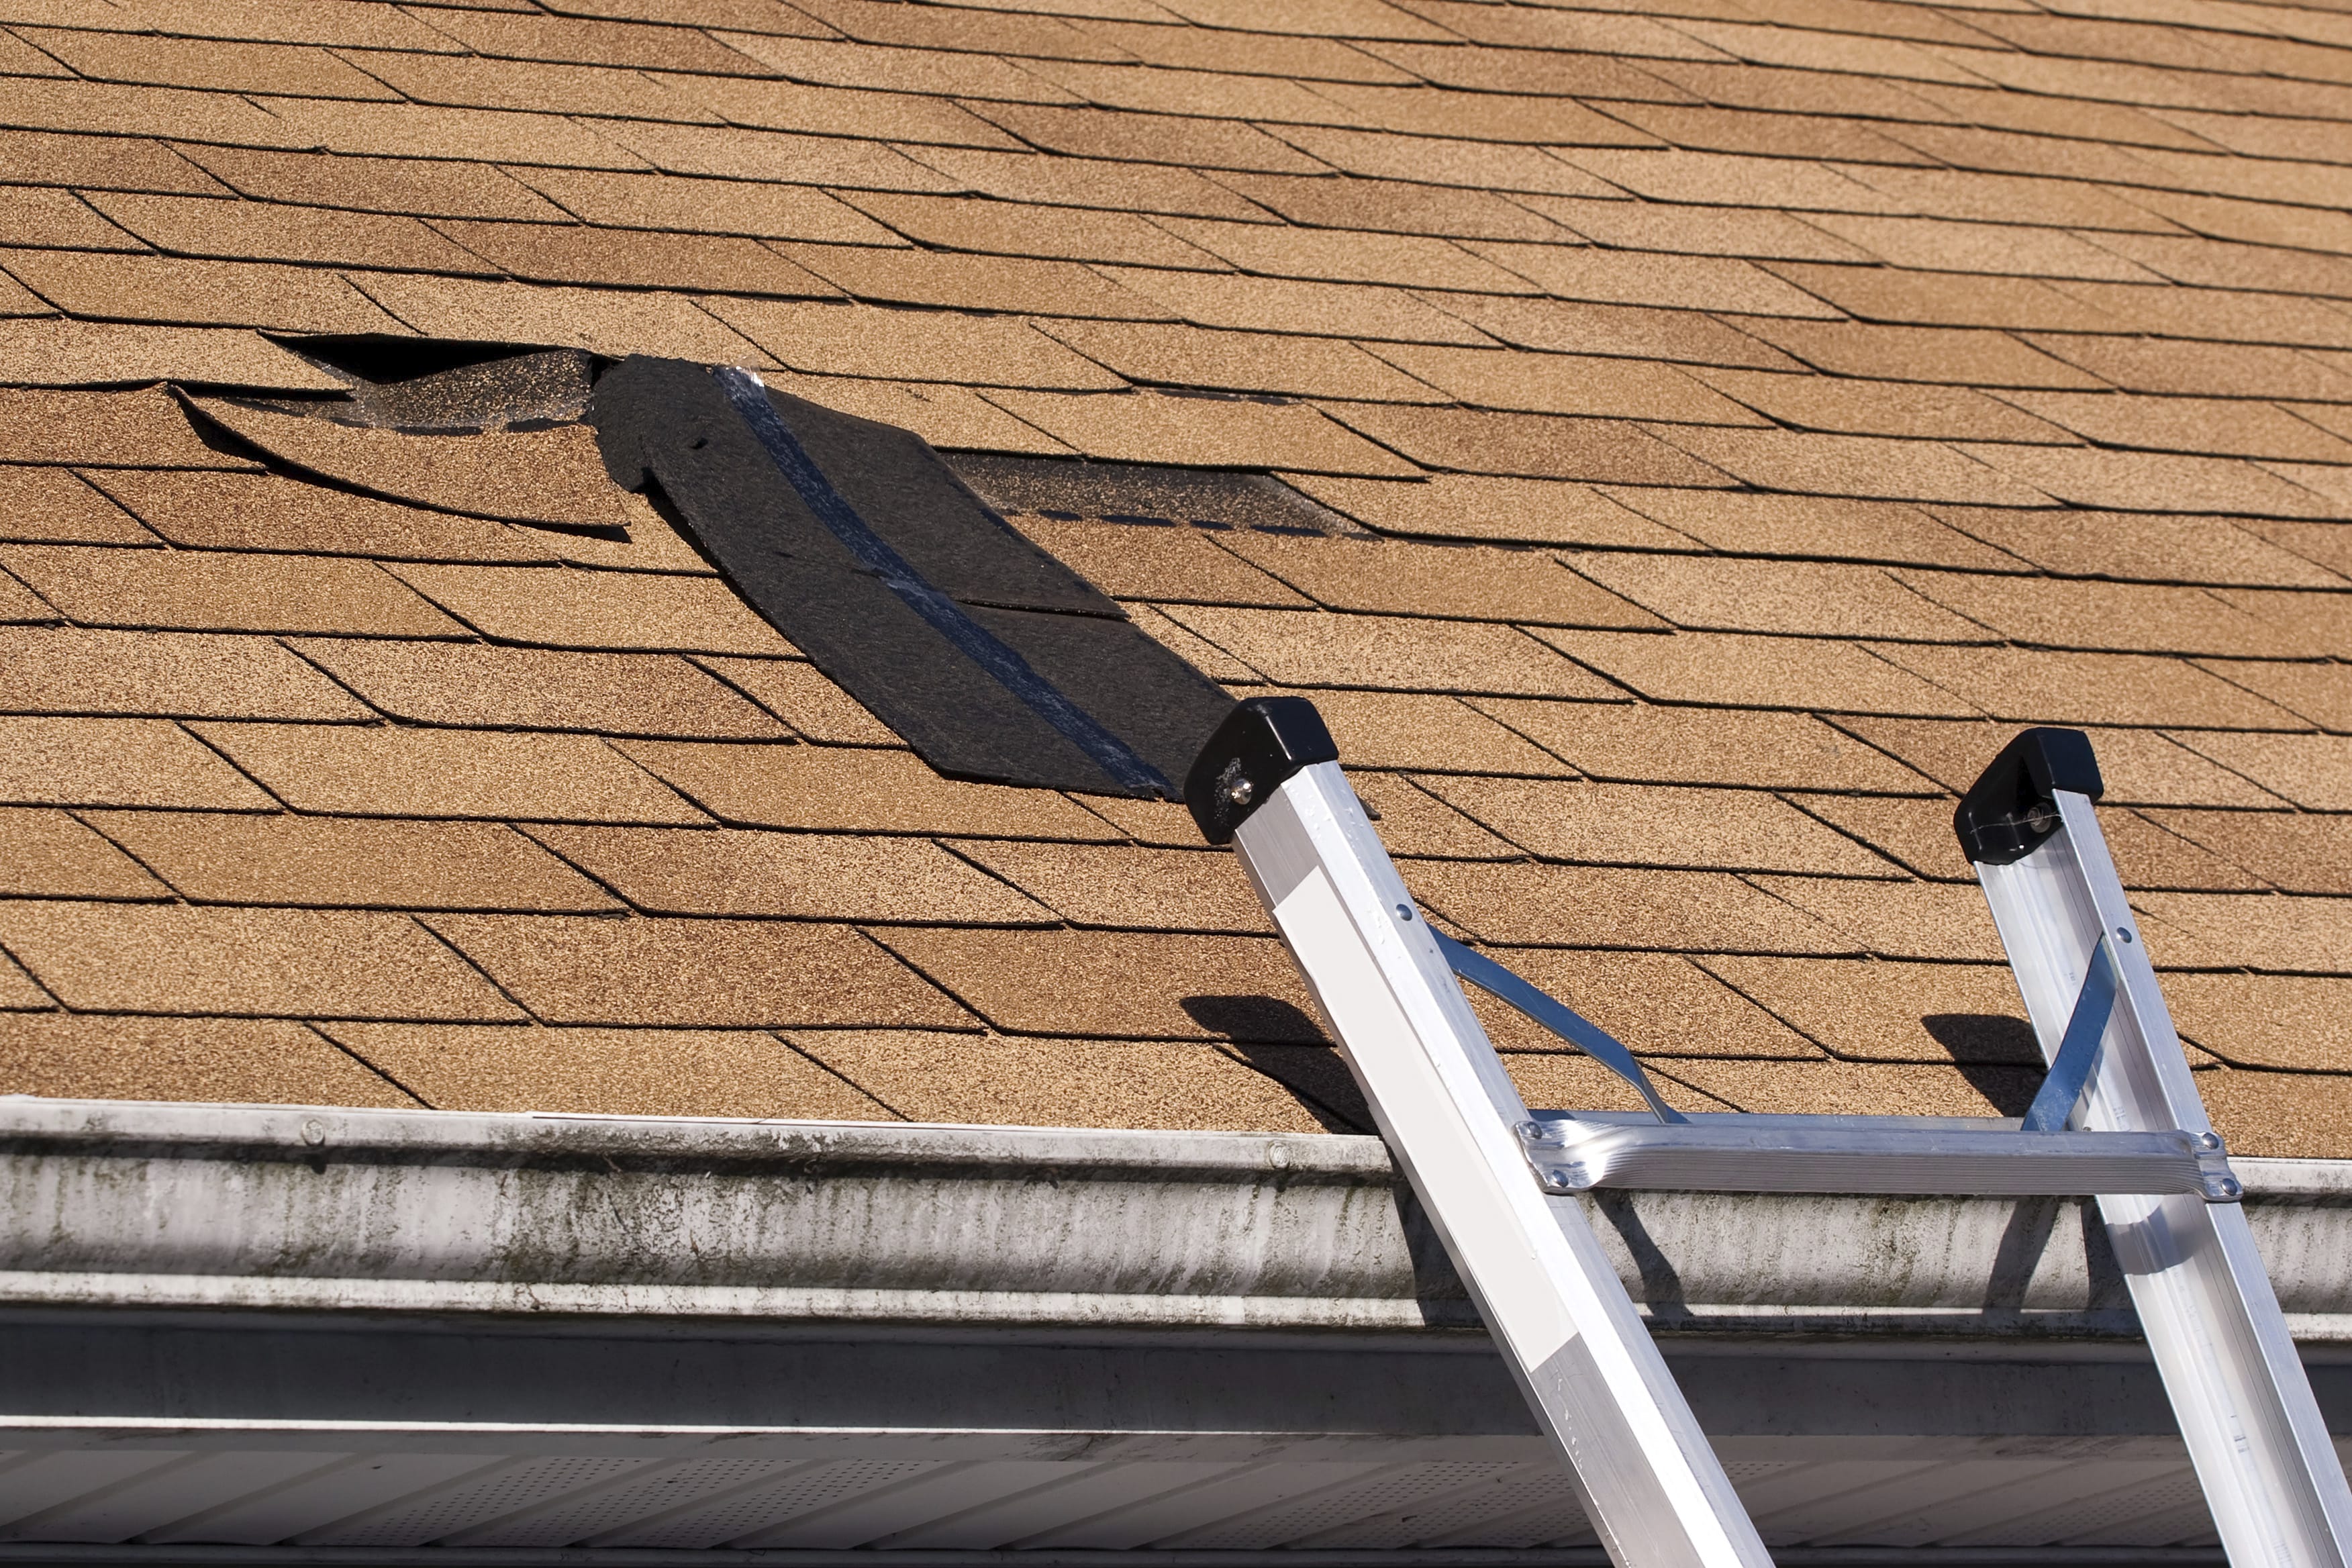
Replacing a Shingle
A broken shingle is unsightly. Worse yet, it’s a leak in the making. Fortunately, this repair is not too high on the difficulty scale, so it’s a candidate for DIY small roof repairs. Try this five-step method:
- Start by looking around your garage or storage building for shingles that may have been left over from the last roofing work. If there are none, you’ll have to buy a bundle at the lumberyard or home improvement center. Find the closest match to the existing shingles.
- You’ll need a hammer, a flat pry bar, a utility knife and some 11/4 roofing nails. Each shingle was secured with four nails, but when the course above was installed, its nails also passed through the top edge of the shingles in the course below.
- Slide the pry bar under the shingle immediately above the damaged one and gently lift it free from the sealer strip. You’ll see the first row of nails beneath.
- Slip the pry bar under the damaged shingle and pry upward. After the nail pops up about 1/4 in., remove the pry bar, press the shingle down and remove the nail. Repeat this for the remaining three nails. Then push the pry bar under the shingle directly above the damaged one and remove the second row of nails the same way. After yanking all eight nails, pull out the damaged shingle.
- Slide the new shingle up into place and secure it with four nails.
Final Thoughts
Replacing your roof is a major expense. If you can do these simple small roof repairs properly, you can extend the life of your existing roof and forestall the expenditure on a new roof indefinitely. Just remember, safety first! And if you find that you aren’t having success with your DIY repair, call a pro immediately. Have any questions about repairing your roof? Let us know in the comments below!