Categories
Blog Emergency Roof Repair Services

3 Common Roofing Scams To Avoid (and How)

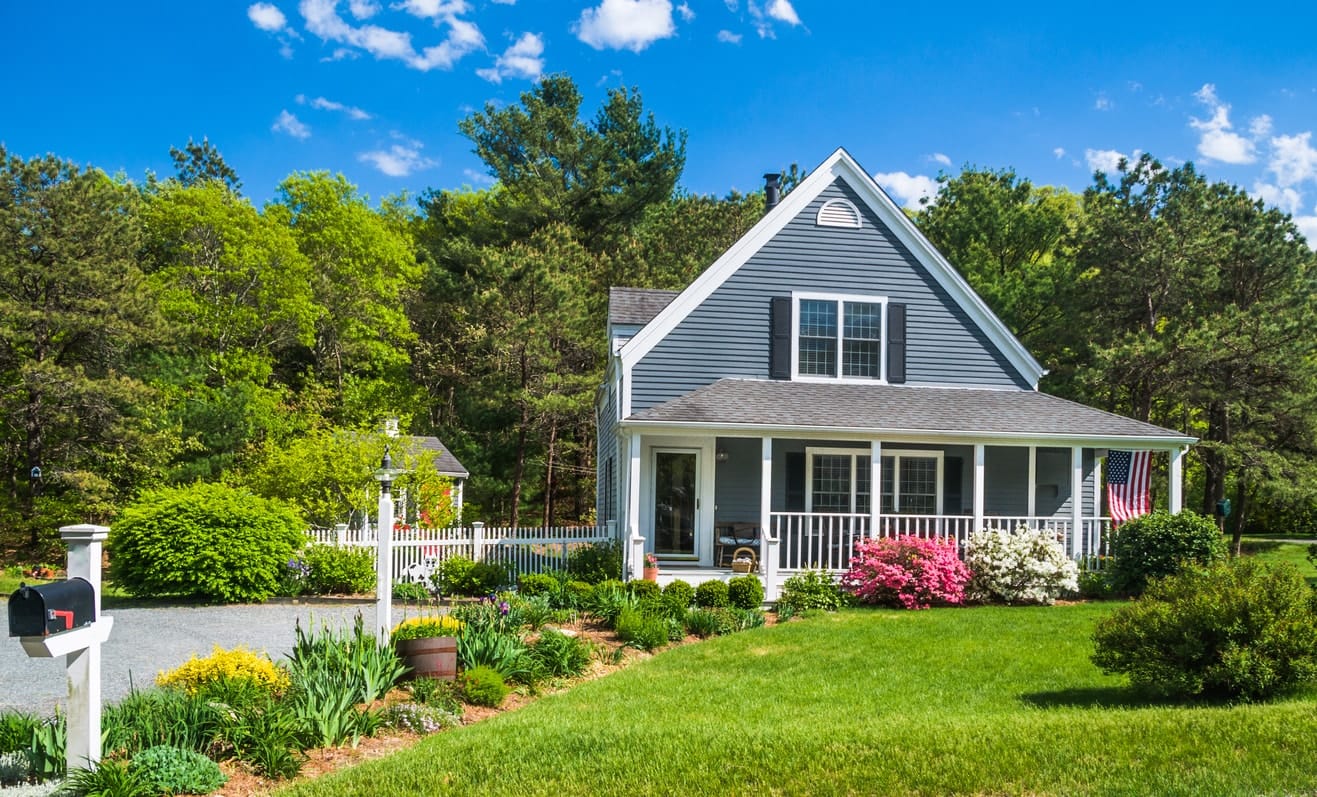
Nothing is more important than finding a high-quality roofer who you trust. To help you, we’ve created a list of 3 common roofing scams — and how you can avoid them.

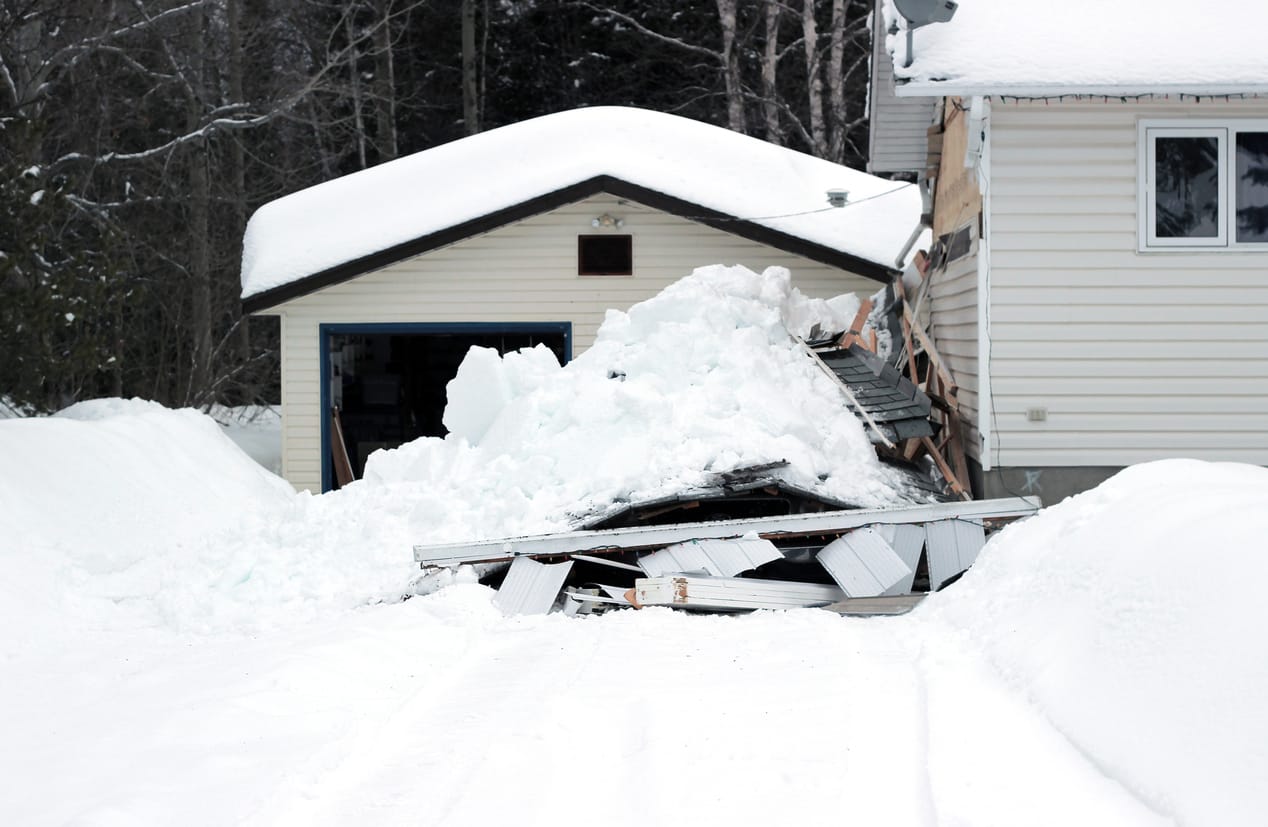
The storms arrived – and left you with missing shingles and leaks. You get a knock on your door – and ominous news from the “Roofing Contractor” who greets you.

You have just received your check from your insurance company – and now you feel like the contract signing is going too fast for your own comfort.

Roofing scams are not just urban legends. There’s a reason that you’ve heard so many horror stories about home and business owners who were taken in by unscrupulous roofers.


What Are Common Roofing Scams?

Roofing scams are a common way for the unsuspecting to lose a lot of money, with little recourse for getting it back.

It’s easy to visit a site like the Better Business Bureau Scam Tracker, and see how many of these schemes are active at any given time.

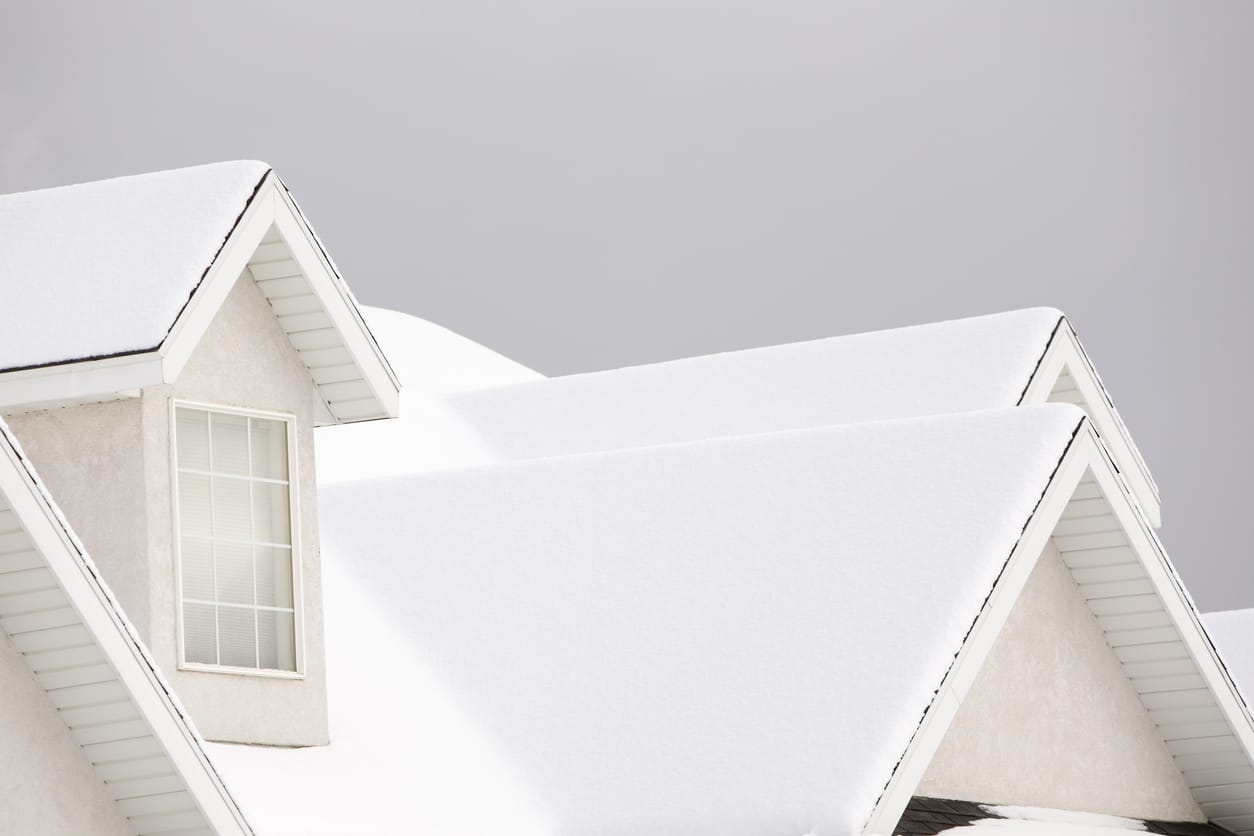
With the possibility of major storms rolling into our area this winter, even the best-prepared person can find themselves dealing with a sudden need for roof repairs.

This fall, it’s a good time to prepare your home for winter – and also prepare yourself by learning how to avoid the most common roofing scams.


1. The Really Great Deal

These contractors come in at the outset with a low bid that has you breathing a sigh of relief, and making plans for your surplus that’s left over from the insurance check.

They’ll tell you that they got an awesome deal on the shingles, because they’re repairing so many wind damaged roofs in your neighborhood.

They’ll do your job for much less – because someone else canceled out on their roof work.

– Red Flags

Unfortunately, when it seems like it’s too good to be true – it’s probably too good to be true. Once you’ve committed to your original bid price, the trouble starts.

  • There will be much more hail damage than they first thought.
  • The price of materials jumped dramatically in the middle of the project.
  • Worst case scenario – the contractor pulls off the old roof, and then demands the extra money to complete the project.

– How to Avoid

Don’t get caught on the “elevator ride”. Know the facts: You aren’t responsible for a jump in material prices – which are unlikely to happen without several weeks notice to the contractors.

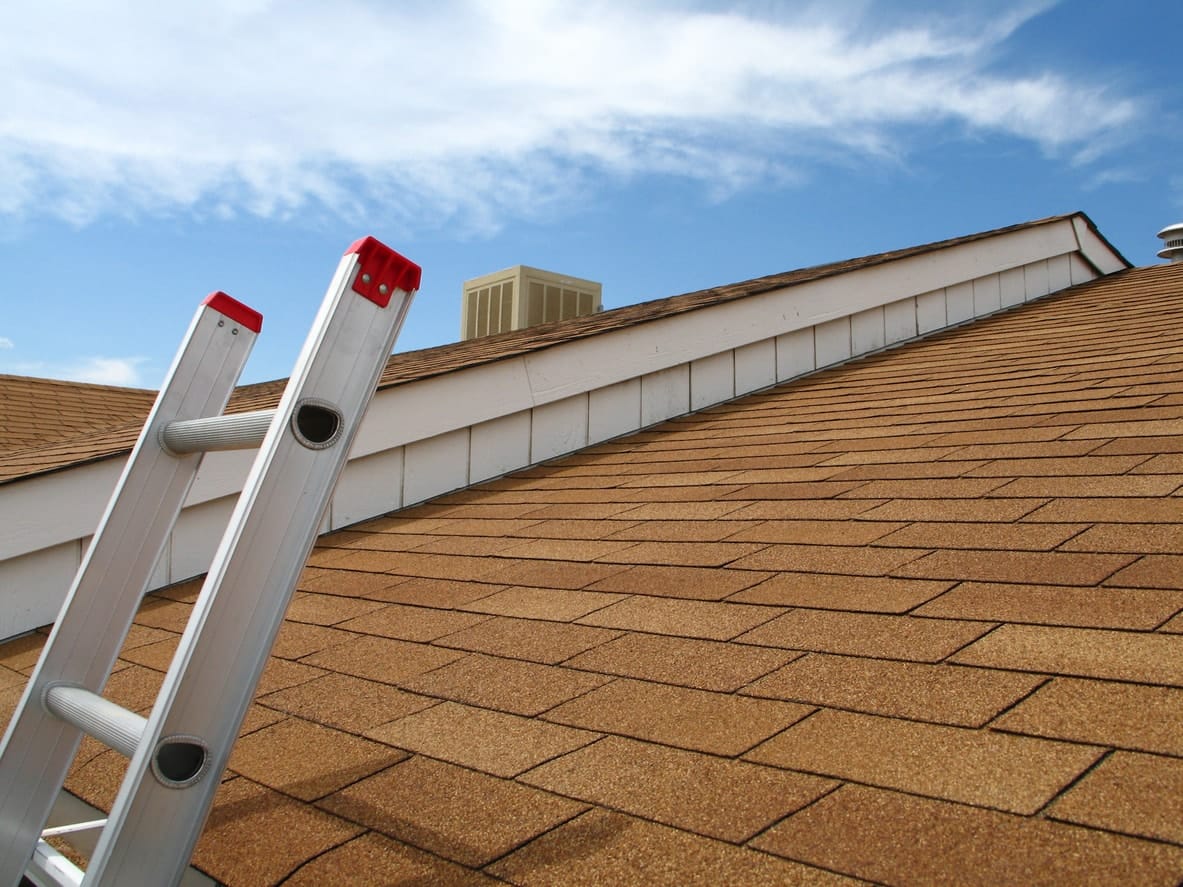
Decking – which is the bottom layer of the roofing, and cannot be completely assessed at the beginning – should have a special section of the contract dedicated to repairs and assessment.

A trustworthy roofing contractor knows that damaged decking can turn up on a job, and will talk about this from the outset.

A good contract will divulge the total cost of labor plus materials. If either of these are missing from the process – look elsewhere.


2. The “Hero on Your Doorstep”

The big storm has come right through your neighborhood – and you’re still numb and trying to deal with the aftermath.

Before you can even sit down with the phonebook, your computer, and your phone, the doorbell starts ringing, and the fliers start showing up on your door.

– Red Flags

When you talk to the roofing contractor, he sounds knowledgeable and ready to get to work. He’s got crews working right down the street.

He’s ready to get out his ladder and get you an estimate on the spot.

It’s great to see all that enthusiasm from a roofer, but pump the brakes a little bit.

It’s common to have “storm chasers” turn up after a disaster – ready to take advantage of tired and anxious homeowners.

– How to Avoid

Dig a little deeper into what their actual qualifications are.

In Virginia, roofing contractors should be licensed by the state.

In addition, ask them to verify their insurance coverage. They should have Code 5551 coverage in place – this is workers compensation insurance specifically for workers who are performing roofing installations.

Be wary of contractors who have out-of-state vehicle tags, or who say they have just moved into the area.

You’ll want to work with someone who will be around to guarantee any problems with their work.

In general, be patient, don’t get pushed into a contract by the first person who shows up. Instead, give the advantage to a reliable local company.


3. Asking for a Check Up-Front

Any contractor who pressures you into signing over your insurance check for your roofing damage claim for things like materials is one to regard with suspicion.

A reliable company won’t do this.

In the worst case scenario, the company will skip town – leaving you with a still-damaged roof, and no money.

Or, the contractor may make a show of slapping on a few new shingles, say they’ll be back – and that’s the last you’ll see of them.

– Red Flags

Unscrupulous contractors know that the insurance payout for a roofing repair is likely to be substantial, and by having the homeowner sign the check over to them, they are looking at a nice lump sum.

They also know that it’s easy to fake additional damage to your roof by peeling back shingles and pointing out problems that weren’t there before.

– How to Avoid

How do you protect yourself?

Never sign over an insurance check. Insist on an invoice, and pay directly from it.

When you do pay, it’s best to use a credit card, which can offer you additional consumer protection, should there be a problem.

Lastly, be aware of the condition of your roof before a contractor looks at it. Even with the storm damage, take photos if possible.

If new damage suddenly shows up, you’ll have a record. A good way to document the condition of your roof is by checking it annually, and logging the notes on a form.


Conclusion

Roofing scams are everywhere, and the aftermath of a major storm, unfortunately, brings out the worst examples of those who will prey on the anxious and impatient.

If you should fall victim to storm damage, don’t fall for the most common roofing scams.

Be observant, be aware, and remember – if it sounds like a deal that’s too good to be true – sad to say, it probably is.

Your best bet is to keep it local, and always do your own background checks.

Categories
Home Improvement

5 Amazingly Simple Spring Home Maintenance Tasks To Try


Spring is upon us and that means it’s about time to begin spring home maintenance and cleaning projects throughout your home. But spring cleaning should not be limited to dusting the interior surfaces, cleaning out closets and wiping down baseboards! Spring cleaning should apply to the exterior of your home, too.

Summer will provide you with many more opportunities to enjoy the outside of your home — whether you’re hosting a backyard barbecue or enjoying your patio each evening — so you’ll want it to be kept clean and well-maintained.

Summer can also bring thunderstorms, wind, rain, harsh sunlight, and high temperatures. Because of this, you’ll want to make sure the outside of your home is prepared to face a new variety of elements as the temperatures warm.

Consider these spring home maintenance tips that will prepare and protect your home for summer; from rooftop to foundation and everywhere in between.


1. Your Roof: Inspect Shingles, Chimney, and Gutters


Shingles:

The first place you should start when considering spring home maintenance is with your roof. Obviously, this is a very important aspect of your home as it protects you and your family from the elements.

But having roof problems can be more than just an inconvenience. If there are holes, you risk water damage which can create major problems in other areas of your home.

So, at the end of winter and before the weather turns too hot, it’s a good idea to inspect your shingles (or have a professional do so) to determine if there is any damage that occurred through the winter, such as lost, cracked, or loose shingles.

If there are any problems with your roof, you should call a professional right away. They will repair your roof before any more damage may occur.

Summer can be hard on a roof in its own way, with rain, excessive heat, and wind. You want it to be in good shape and repair any problems so they don’t get worse with the passage of time.


Chimney and Gutters:

Two other aspects of your roof that will need attention are your chimney–if you have one–and your gutters. You may want to consult a professional to clean out your chimney as it can be dangerous.

But cleaning it out and making sure any debris is cleared away will help with general maintenance and keep it in working order for when it’s needed again when the colder months return.

Your gutters are probably the most crucial part of spring home maintenance as summer approaches. Your roof receives a great deal of rain and storms throughout the summer, so you’ll want gutters to help with carrying away this excess water.

Winter can wreak havoc on your gutters. So start by cleaning out dead leaves, pine cones, and other debris.

You’ll also want to make sure they are securely fastened to the home, and if not, refasten them.

Check for leaks in the gutters as well. Fill any holes with caulk in order to help water runoff go where it needs to–into the gutter and down the downspout, away from your home.


2. Care for Your Concrete

It’s also important to take good care of the concrete around and underneath your home for the sake of structural stability as well as aesthetics.

Cracks can become filled with water in the winter, which then freezes, and causes the crack to expand.

Inspect the concrete of your foundation, driveway, and any walkways or patios for cracks. You can seal these with a concrete caulk.

You’ll also want to apply a clear sealant to your driveway and walkways. But first, be sure to wash the surfaces thoroughly; power washing can take caked dirt and stains off very well.

Once the surface is completely dry, a coat or two of sealer will give a clean, fresh look to it.


3. Spring Home Maintenance to Prepare for Hot Weather

Prepare for hot weather by having a licensed HVAC professional inspect your air conditioning unit.

Your air conditioner is going to be working hard soon, so you’ll want it to be at peak efficiency once summer heat waves begin to hit. Having it inspected by a professional can help you get a jump start on any maintenance or repairs that may be needed before temperatures get too high.


4. Clean Up Your Siding

Your siding may have incurred stains and dirt through the winter, especially if your home is light-colored.

This spring home maintenance is a simple task, though. Consider power washing your siding. You can do this either with or without a cleaning solution, which will help you get rid of any algae, mold, stains, and dirt.


5. Prep Your Deck for Summer Fun

You will likely be spending a lot of time on your deck once summer hits, so it’s worth it to spend time getting it cleaned up and looking beautiful so it can be enjoyed all summer long.

The first home maintenance task is to clean it well. This can also be done with a power washer with a cleaning solution. If you don’t have a power washer, a scrub brush and your own two hands will suffice.

Go over the deck and inspect it for any peeling wood or loose screws. Then, replace or repair any areas that appear weak or damaged.

Once the deck is cleaned and dried thoroughly, you may want to apply a stain or sealer on it if it is a wood deck; this will not only improve the look but will also help to make it waterproof and protect the wood.


Conclusion

Summer is approaching quickly, but spring is the best time to clean up and repair damage that your home incurred throughout the harsh winter.

Spring home maintenance and cleaning applies to the exterior of your home as well. During this time, repairs and maintenance can be done literally from top to bottom.

Begin with repairing any questionable areas on your roof; proceed to inspect all concrete surfaces. Make sure your siding is cleaned and your deck stained. Also ensure that your air conditioner is ready to take on hot summer days.

Doing so will ensure that your home is well-maintained and cared for, but also ready to be enjoyed as the weather warms up and more time is spent outside.

Categories
Snowguard Systems

What You Need to Know About Roof Snow Removal

When snow blankets our neighborhoods, it’s a beautiful sight. Our homes tend to look especially beautiful when the rooftop is covered in a fresh, smooth blanket of pure white snow. However, despite the beautiful look, snow and roof snow removal can cause major headaches for homeowners.

This is especially the case if your home is old, or if you know your rooftop isn’t as strong as it should be. Snow may look beautiful from the street, but if a homeowner isn’t careful, it can cause serious, expensive damage on the inside. Heavy snow on rooftops can cause gutters to fall off a home, water leaks inside the home, and even roof collapses in extreme cases.

That’s why roof snow removal is an important part of winter home maintenance. Keeping your roof clear of large amounts of snow will give you peace of mind. It will also help you avoid major repair projects after snow storms dump inches and inches of snow upon your roof.


Why Snow Removal is Important

Roof snow removal is of the utmost importance because it’s a precaution against severe damage to your home. One of the biggest risks when it comes to rooftop snow are “ice dams.” Ice dams form when ridges of ice form along the bottom edge of a roof. These can often form impressive-looking icicles, but they’re more trouble than one might realize.

An ice dam prevents moisture and snow from properly draining off the rooftop surface. Ice and snow becomes stuck on the roof and doesn’t drain off, which can result in damage and leaks inside the home.

Another consideration when evaluating whether you need to remove snow is the fact that consistently applied, additional weight upon an already weak roof puts the home at risk for a cave-in.


When Should You Remove Snow?

Many homeowners may wonder when they should start thinking about roof snow removal – right after a major storm, or after a few inches have accumulated? The answer really depends on a few factors that should be carefully considered:

  • Consider the condition of your roof already. If you know that it is weak in certain areas and needs to be replaced, then make clearing it off a greater priority.
  • Consider how much snow is actually on your roof. If it’s a dusting or just a few inches, obviously there is very little to be concerned about. Many experts recommend clearing a rooftop once the snow builds up to six inches in height. Any more snow can put undue stress on a rooftop and cause big problems.
  • Think about the type of snow that’s on your roof. A homeowner may not realize that certain types of snow are heavier than others. Light and dry snow will not be as detrimental. However, wet snow is by nature heavier and will cause more problems. It’s easy to tell what type of snow you’re dealing with just by picking up a handful from the ground.
  • Take the weather into account. If the weather is going to warm up very soon, clearing your roof is not as pressing a problem. The snow will probably begin to melt soon, easing your problems. However, if you have reason to anticipate more storms, its best to clear it off to prevent further build up.


Safety First

Most of the time, homeowners will be able to clear snow off their roofs on their own. But for the sake of safety, it is key to make sure you are physically capable of doing so. And, you may want to consider professional assistance if you live in an area that frequently receive excessive amounts of snow each winter. Do this for the sake of your own safety and for the well-being of your roof.

It’s essential to consider other safety precautions as well. Homeowners need to be extremely careful using a ladder in potentially slippery conditions. In fact, you may want to avoid this option entirely unless you’re sure it can be done safely. Ladder surfaces, the ground, and your shoes can become slippery which is a recipe for disaster.


Several Approaches to Roof Snow Removal

There are several ways to approach roof snow removal. Regardless of the method you use, you’ll want to also take care to remove snow and ice from gutters in order to keep them from forming ice dams. This will also keep them from becoming too heavy and falling off the house.

A first option are heat cables. These are hot, electrically heated cables that are placed on the roof. The placement of these helps to prevent ice and snow build up. This is an expensive option that really only works in areas that receive ice or snow dustings. The heat from the cables is usually not enough to prevent major snow build up. This is especially true in areas that receive a lot of snow storms consistently throughout the winter.

Another option is a snow rake. This is an easy procedure that you can do yourself. However, this process can be difficult if your roof is steep, high, or has many overhangs. A roof rake is not a typical lawn rake–rather, it is typically metal and is shaped in such a way that pulls snow directly off your roof rather than through plastic teeth like a lawn rake would have. You’ll only be able to use this option if your roof doesn’t have a steep incline.

Snow guards are another option that make roof snow removal possible. These guards protect your gutters and spouting by spreading out the snow evenly on your roof. This makes it easier to remove snow and ice from your roof. The spread out snow melts and drips away evenly, reducing the number of potential leaks and cave ins.

An interesting option to consider is also calcium chloride tablets. These can be purchased online or at most hardware stores, and they are probably the least physically-straining option. Calcium chloride can melt snow and ice without damaging your rooftop (as driveway salt would); and all you have to do is, following the manufacturer’s directions of course, toss a few up on your rooftop and wait for them to melt the ice and snow on the roof. You’ll probably still have to clear a bit off around the gutters, but these tablets can take a lot of the struggle out of the process.


Conclusion

Roof snow removal can be a major challenge facing homeowners in the winter. Luckily, there are several ways to approach the problem, from heating cables, to roof rakes, to calcium chloride tablets. Taking into consideration the type and amount of snow and the condition of your roof will enable you to make an educated decision about clearing your roof of snow during the winter months.

Categories
Curb Appeal

Gutter Protection: Prevent Ice And Snow Damage This Winter

With winter comes all kinds of home issues that you have to watch out for. Burst pipes, cold temperatures indoors and icy paths are all common problems homeowners face. However, many don’t think about their gutters, and how they cope in this cold weather. Without proper gutter protection, ice and snow can wreak havoc with your gutters, creating bigger problems later down the line for you.

Here’s what you should be looking out for, and how you can prevent the weather from damaging your gutters with these steps for gutter protection.

The Damage Snow And Ice Can Do Without Gutter Protection

So, what happens to your gutters when the snow and ice sets in and you do not have any gutter protection? In short, they can cause havoc by stopping your gutters from doing their job. There’s two different ways that your gutters can end up damaged.

The first issue is that of ice build up. Sometimes, ice can build up in your gutters faster than it can melt and flow out as intended. When this happens, the ice on the top of the build up will eventually melt, but flow over the lip of the gutter. This can create long icicles that hang from the gutters. The weight of the icicles can put pressure on your gutters, and can even crack or break them.

Secondly, snow melting off your roof into the gutters can be a problem. Snow can melt off the roof even when it’s still cold outside, thanks the heat from your home coming through the roof itself. The snow melts off into the gutters, where it then refreezes into an ice dam. That dam will melt over time, and thanks to the overflow it can seep under tiles and tar paper. These ice dams can create issues with your roof that can be costly to fix.

Ice And Snow Are Dangerous To Your Roof

Your gutters have an important part to play in keeping your roof safe and fit for purpose. Because of this, it’s incredibly important to have proper gutter protection, especially during the winter months. When they’re not able to perform their intended function, it can be a real problem for you as a homeowner.

The problem with ice and snow is that it melts, and that’s when it gets into your roof and causes the problems that can be costly to you later on. Water in your roof is dangerous, as when it gets into the exposed timbers it can cause rot and mold, which can greatly damage the structural integrity of your roof itself.

If the snow and ice is melting into your roof, then it may not have anywhere else to go, meaning you’ll be seeing these problems sooner rather than later.

How To Prevent Snow And Ice Damage With Gutter Protection

The first step of gutter protection to avoid snow and ice damage is to inspect your gutters. Before the cold season sets in and after all the leaves have fallen, get a ladder and have a close look at your gutters.

Ice dams can form because debris in the gutters block the water from passing through, meaning it has nowhere to go. Take this time to clean the gutters out thoroughly, ensuring that nothing is stuck in them before temperatures drop and snow falls. If you do this, you’re greatly reducing the risk of ice dams forming.

Your gutter protection can go one further by installing gutter guards that will stop debris falling in. These often look like mesh guards, or brushes, that catch leaves and other debris before they fall into the gutter. You’ll still have to clean them out periodically, but they’ll stop the blockages happening and prevent the ice dams from forming.

You can also look into more permanent solutions, such as heating systems. These are heating elements that are installed in your guttering, which then keep water above freezing temperatures. This ensures that the water keeps flowing and stops freezing from happening. Snow guard systems are also another way to prevent snow from flowing into your gutters to begin with.

Another gutter protection solution, if you’re finding that ice and icicles are pulling your guttering down, is to reinforce your guttering. There are many roofing companies that can do this for you. They’ll increase the weight load capacity of the gutters, meaning if ice does form you can ensure that your guttering will stay put.

Prepare Your Roof For Winter

Your roof is at risk during the snowy weather, and it can contribute to problems with your guttering. That’s why you should ensure gutter protection, and also look into preparing your roof before the cold weather really sets in.

The first thing you’ll need to do is ensure that there’s no existing water damage to the roof. Again, grab a ladder and take a look at the outside of the roof. If any tiles are lifting up or curled, that could be a sign of damage that you’ll need to address. Get into the attic, and take a look at the wood in here. If there’s any mold or mildew, you’ll need to address this, too.

Insulating your roof should also be included in your gutter protection plan. This is because it is a great way of stopping snow melting off it and into your gutters. If you find that you’re losing heat through the roof, insulating it will stop this from happening, and keep it safe from damage. As an added bonus, you’ll also save a lot of money on your energy bills, as you won’t need to keep your home heated as much.

One option, which is worth considering if you’re getting a whole new roof, is having a water and ice membrane fitted. This is a big job, so you’ll probably need to wait until the whole roof needs to be replaced. However, it’s well worth doing as it’s one of the best and most effective ways of keeping water out of your roof itself.

Conclusion

As you can see, there’s a lot of ways you can keep water flowing through your gutters, rather than letting ice build up and create more problems later on. It’s all about the gutter protection. Even if you’re just checking your gutters regularly and clearing any blockages you find, then you’ll be able to stop most damage in its tracks. Taking more permanent measures, though, will ensure that you’ll never have to worry about your gutters again.

Categories
Metal Roofing Blog

Metal Roof Maintenance for Fall

Metal is the longest lasting type of roofing material, and your new roof can last up to fifty years with proper care. While metal roofs require far less maintenance than those made with other materials, you will need to do metal roof maintenance to make sure it stays in top condition. As you prepare your home for fall, be sure to add these items to your to-do list. These metal roof maintenance tips will ensure your roof is ready for the cooler, wetter weather.

Metal Roof Maintenance Tips

Maintenance is an important part in any roof. After summer, every homeowner will want to utilize these metal roof maintenance tips to ensure your roof stays protective all year long.

Trim Back Tree Branches

The landscaping around your home plays a big role in how long your metal roof lasts. While metal is durable, heavy branches resting on it will weaken its structural integrity. Limbs blowing in the breeze can leave deep scratches. At the end of summer, make sure to trim all of your tree branches back at least three feet from your property. This will also ensure that rodents cannot gain access to any wooden areas around your metal roof.

Inspect Your Snow Guards

Roof snow guard systems are one of those things you rarely think about, but they save you from property damage and personal injuries that can occur if snow slides off your roof. Before winter storms arrive, take the time to make sure your snow guards are still in place and intact. This way, you can avoid a snow avalanche the first time heavy snow falls.

Check the Paint

The paint on your metal roof helps protect it from the elements. A quality paint job adds to its aesthetic appeal. Over time, however, exposure to sunshine, hail and foot traffic can all damage the paint and leave your roof vulnerable to the elements. Ideally, metal roofs should be painted before the weather turns frigid. During this annual metal roof maintenance, you should do an inspection. Doing an inspection now will allow you enough time to get it painted before the colder months.

Remove Accumulated Debris

Over time, fallen branches and leaves can build up on your roof. It is important to remove this before it gets wet or begins to rot since this can damage the materials used on your roof. Reaching the debris is the biggest challenge property owner’s face; especially since it is important to minimize foot traffic on your roof’s metal. Therefore, using a long brush to cover more distance is the best way to remove debris. If you choose to use a water sprayer, make sure to aim the hose away from the bottom of your roof since that can also lead to damage.

Clean Out the Gutters

Metal roofs are designed to allow the water to run off and into your gutters. When those gutters get clogged, your roof can no longer drain properly. Wet, soggy leaves and standing water can rest against the sides of your metal roof and lead to pooling. When this occurs, your metal roof will become susceptible to corrosion that destroys its ability to protect the rest of your home.

Metal roof maintenance requires far less work than other types of roofing materials. When it comes to protecting your roof, focus on removing anything that may rest against it and cause scrapes or corrosion. By trimming branches, clearing out fallen leaves and checking for minor damage that needs prompt repair, you can avoid major roofing work and protect your home’s value.


Categories
Blog Emergency Roof Repair Services

How to Repair Pipes

Water pipes around our homes are something that needs eventual maintenance and even in the best of times and the best materials used time forgives no pipe. Knowing how to repair pipes and how to handle emergencies concerning them is something any homeowner should be familiar with.

Tips to Repair Pipes

Knowing how to repair pipes can help prevent the additional costs contained within taking care of plumbing work. Make sure you follow these simple directions to identify the problem and solve it:

Find the Pipe Leak

• Identify and spot the leak.
Before you begin focusing on the repair works in progress you will naturally need to find the problem first. This may not always be as easy as it seems, but for the most part you will find the leak due to the volume of water dripping from it or the area that has obvious water damage.

• Shut the water off.
Once you’ve spotted the location of the leak you need to cut the water off so you can work freely. You should only have to go down to your water main and shut it down. Alternately if the damage is in a location that prevents you from doing that you may need to shut down the water from your street. Make sure you remove the drywall at the location of the leak if its damaged by it as you may need to do some repairs there.

Patch the Pipe

• Placing a patch.
Take a look at the pipe and figure out where the crack is located, then grab a piece of an old garden hose. Cut some pieces off of it a bit longer than the crack in the pipe and place them on top of the crack after you cut them lengthwise. You will need to do a bit more than that though, so this brings us to our next tip.

• Using clamps.
Next you need to get some hose clamps, several in number and place them on the patch in even increments. Tighten them up until they are as tight as possible and you will have a good temporary solution until you have to replace the entire pipe at your convenience.

Ensuring Safety

• Testing the repairs.
Once you’ve patched the location you should turn the water back on to see how well they’re holding. Its possible you may need the help of a family member or friend to tell you whether your repairs are holding so you won’t flood your place again. If everything was done right you won’t have any leaks and drips once you’re done. You should still be careful with your water use until you’ve done whatever you can to replace the faulty pipe however.

• Call a plumber or fix it
Since this is only a temporary solution you should focus on getting things fixed completely as soon as possible. Either use the services of a plumber if you’re not good at it or do it yourself if you have some experience on that matter.

Guest post granted on behalf of: http://www.removalsmanandvan.org.uk

Exit mobile version