Categories
Residential Roofing

How A Cool Roof Can Keep Your Home Safe During Heatwaves

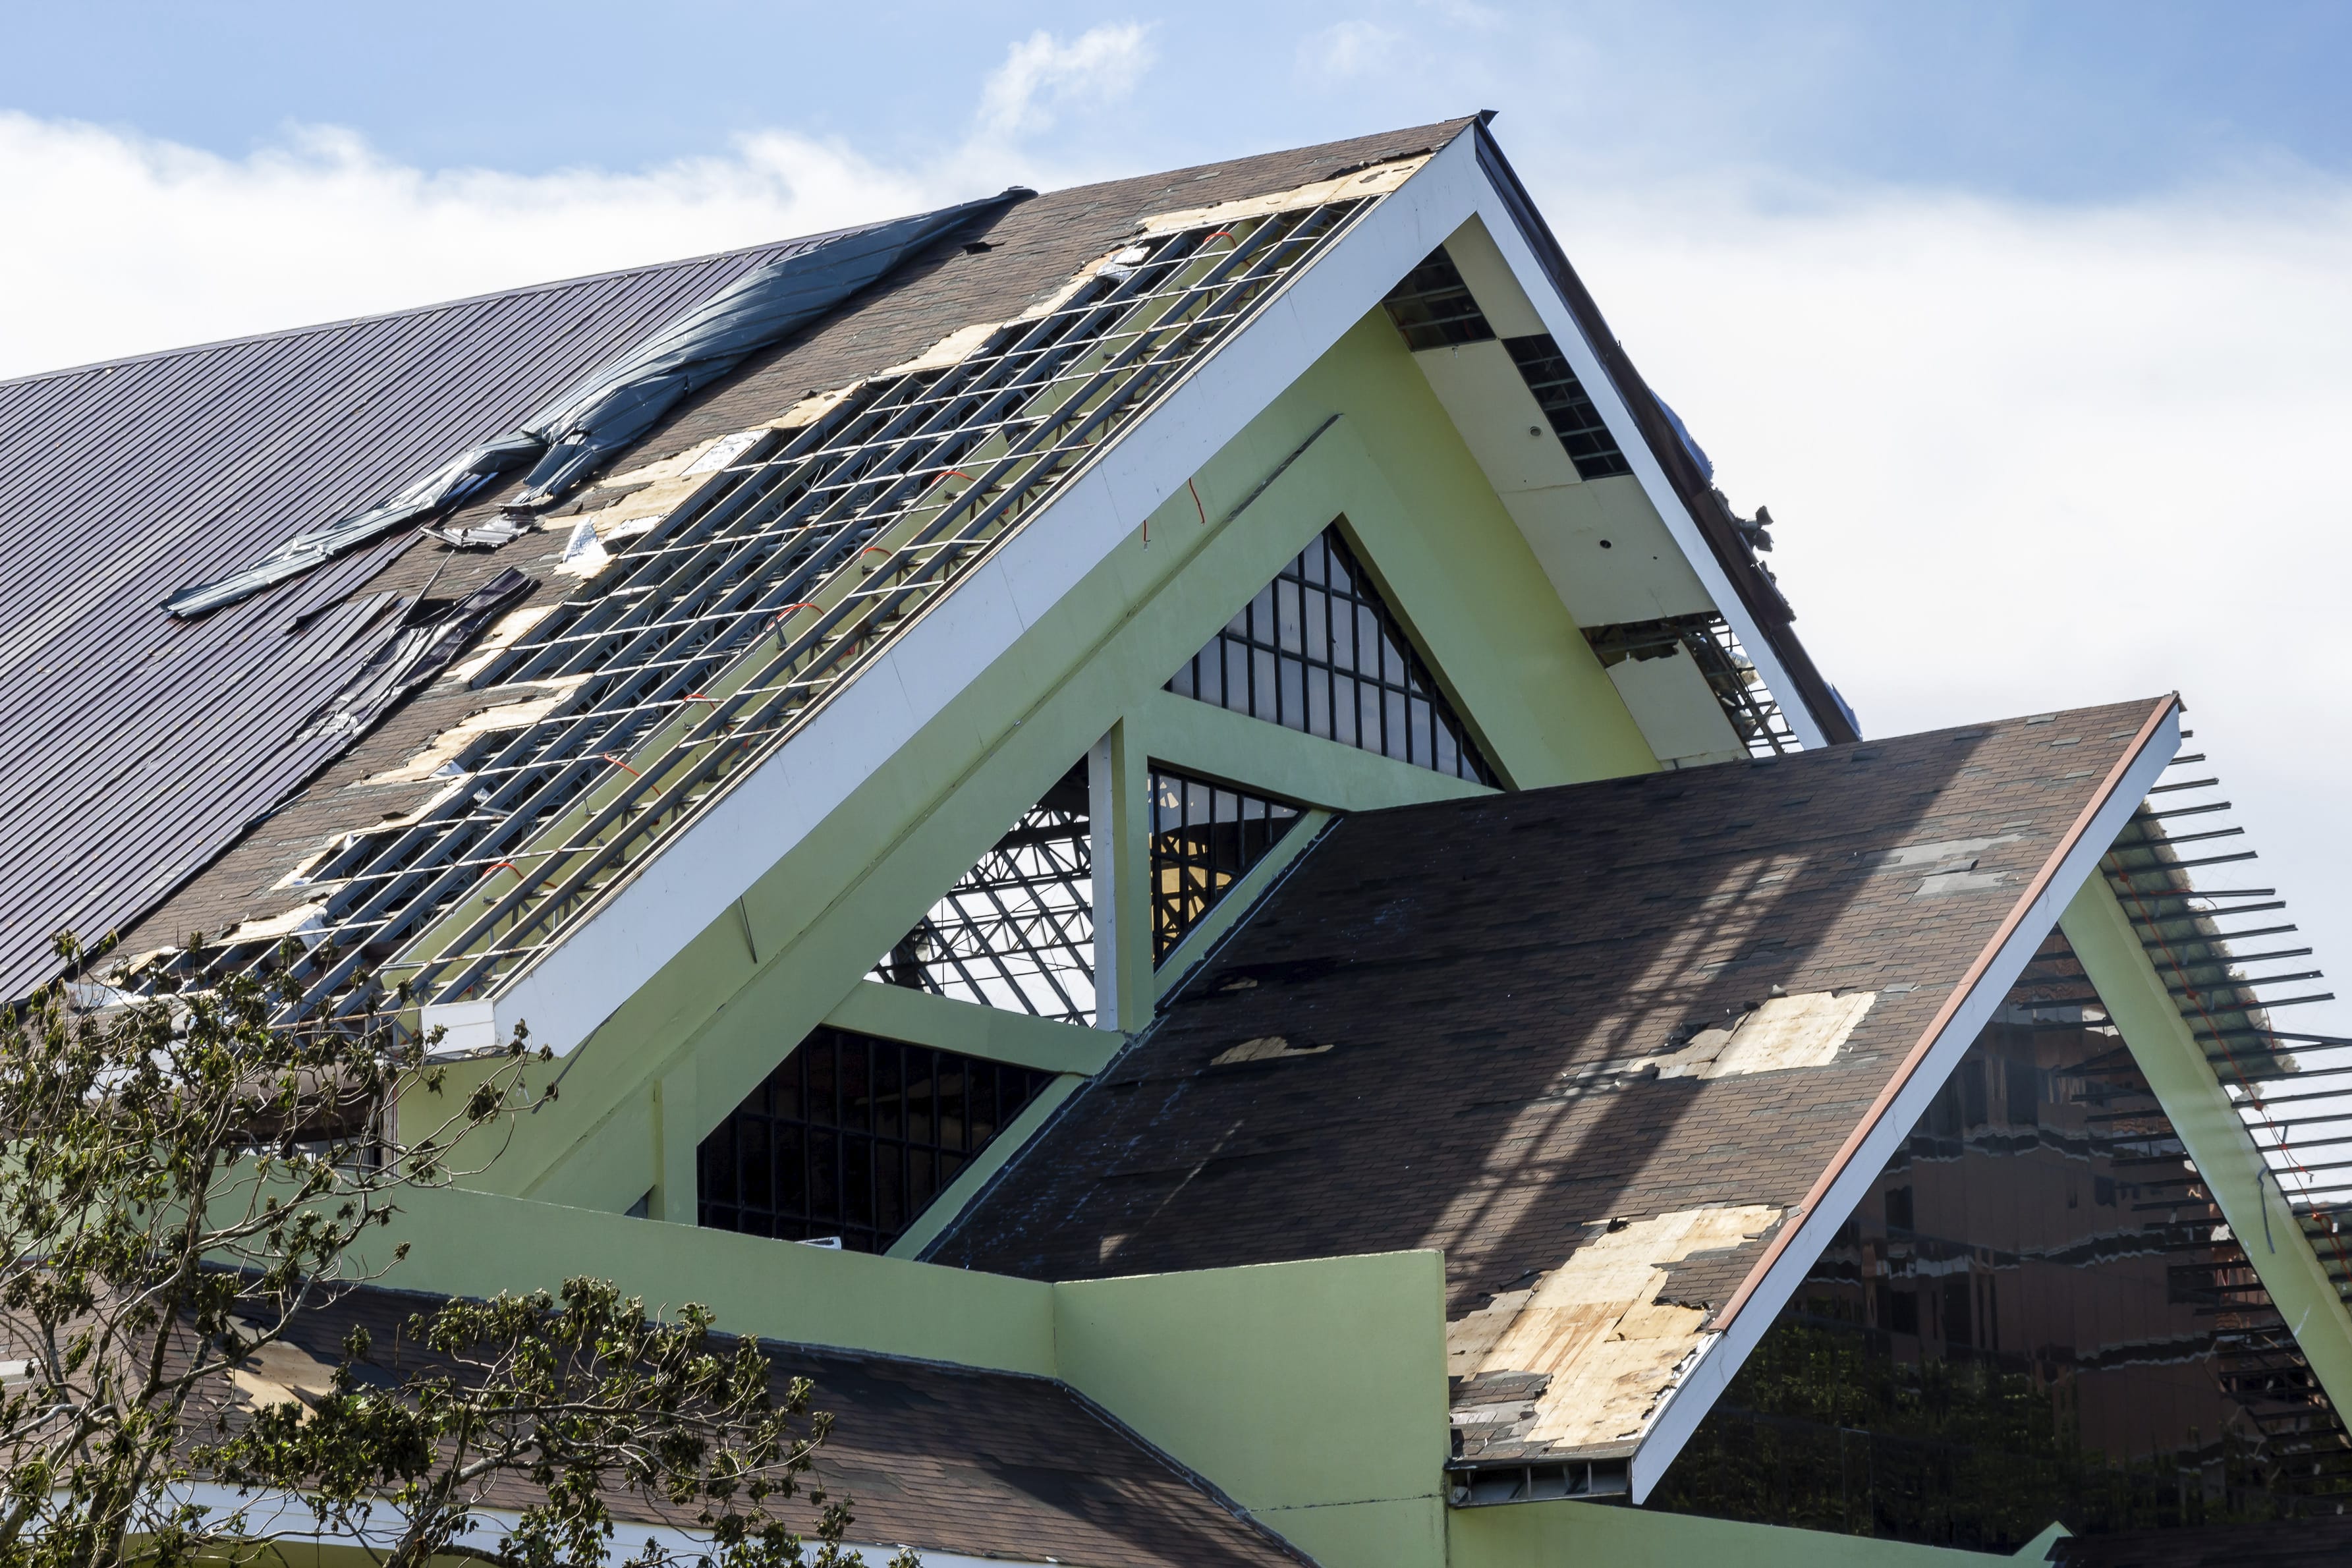
During the summer months, we are seeing temperatures reaching new highs, which means that your home is also reaching higher temperatures. Keep your home safe during summer heatwaves with a cool roof.

The hot weather is well and truly here, and that means that if your home is lacking a cool roof, it is getting hotter and hotter.

There are many consequences for this, the most important being that the heat can, in some cases, lead to illness and death in some homeowners.

Luckily, installing a reflective roof coating ensures that your home is safe from the summer heat.


The Dangers Of High Temperatures Without a Cool Roof

There’s many dangers associated with the heat that you need to be aware of.

As the temperatures rise, you’ll see that people such as children, the elderly, and the chronically ill will struggle to keep cool.

  • This is because the body’s main way of cooling down is by sweating, and in these groups of people the mechanism in the body isn’t as optimal as it should be.
  • You’ll also find that with some people, children in particular, aren’t able to take steps such as staying out of the sun or drinking fluids to counteract the heat.

As this is the case, then heat waves are going to be dangerous. As the weather warms up, your home will too. It’ll be harder to keep cool during the summer months.

You’ll see people start to come down with conditions such as heatstroke and dehydration. This year alone, there have already been 6 deaths reported due to the heat.

This sounds frightening, but like most weather conditions, you’ll be safe if you take the right precautions.


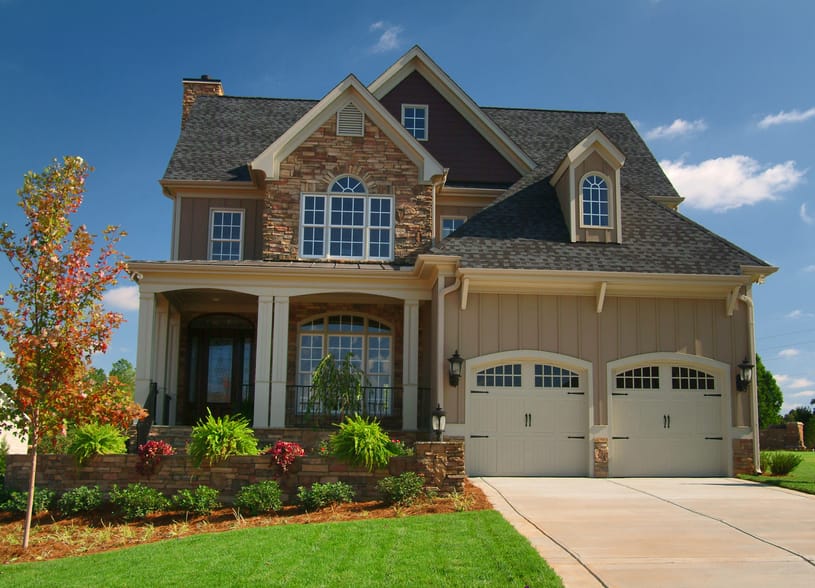
What Is a Cool Roof?

One of the precautions you can take is by having a reflective roof coating added to your home.

These cool roof coatings are designed to reflect the sun’s rays away from the roof, stopping the heat from making its way into your home. The less heat that gets in, the cooler your home will be.
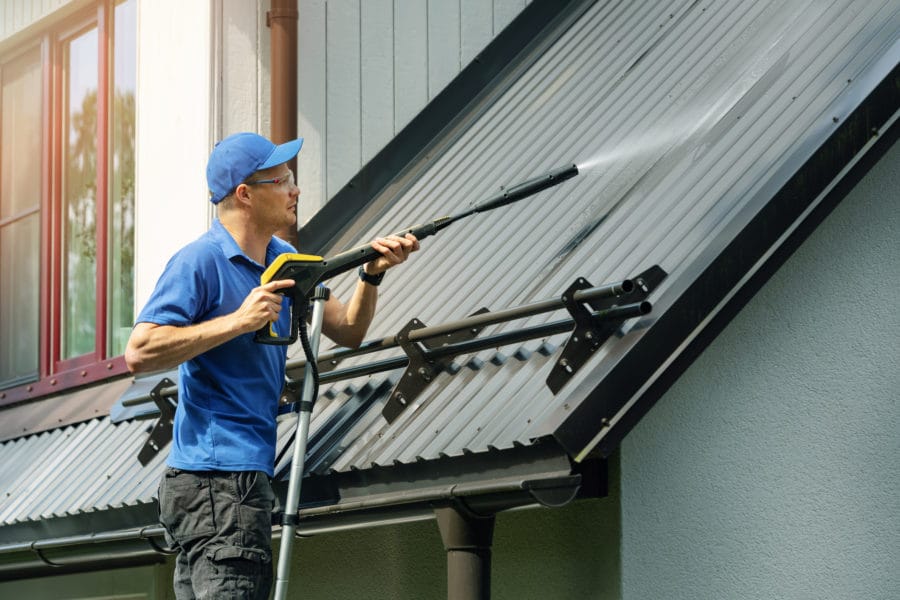
How is this done?

Essentially with a reflective paint coating on your existing roof. This coating is designed to be reflective and cooling, so once it’s on your roof, it’ll start reflecting the heat back into the atmosphere.

Applying the coating is usually done by a professional, and you’ll find that they can complete the job very quickly.


The Benefits Of Applying a Cool Reflective Roof Coating

So why should you consider getting a reflective roof coating?

There are lots of reasons, including:

1. Keeps Your Home Cooler

The main benefit is that once the coating is on, the house will be noticeably cooler. Unlike other insulation materials, the heat isn’t simply being released later.

Instead, the heat is reflected away so it never gets into your home at all. Once the temperatures start to climb, you really will notice the difference.

2. Keeps Energy Costs Down

When the heat is on, so is your HVAC system.

You’re running it around the clock, just trying to keep the house cooler. This is a drain on your finances, as you’re paying more and more to keep the house cool.

When you have a reflective roof coating, you’ll see that you’ll have to do this less and less.

  • As less heat is kept out of the house, the home will have much cooler air.
  • You’ll be able to run your HVAC less, and keep the thermostat on a higher temperature to save energy.

It makes a real difference to your wallet.

3. Reduces Wear on Your Roof

You would be surprised at how much wear the sun causes on your roof.

UV rays wear away at the materials, eventually breaking them down. Depending on the shingles you’ve used, you may find the sun can even crack or warp them.

When you use a cool roof reflective coating, you’re drastically cutting down on the damage that the sun is doing. This prolongs the life of your roof and ensures that you’ll get more life out of the roofing materials used on your home.

4. Makes Your Home Safer

This is the most important point. If you’re worried about the effect the heat will have on people in your home, a reflective roof coating is the answer.

It’s such a simple step but it will keep your home so much cooler over the summer months. The cooler your home is, the safer it is for everyone living in it.

It brings you so much more peace of mind, and you’ll be able to enjoy the summer in safety.


Keep Cool This Summer, Just Like Your Roof

A reflective roof coating will do wonders for keeping your house cool, but it’s not the only way you can keep the heat out and your family safe.

Here are some other ways you can keep your cool:

1. Always Wear Sunblock

It’s hard to overstate how important this is.

When you’re out in the sun, you’re taking on damage from the sun. Sunblock is the most effective way to keep your whole family protected.

Reapply regularly, especially if you have been in the water, and ensure that you’re protected.

2. Keep Windows Open at Night

When it’s hot outside, it’s tempting to open the windows during the day to let air circulate.

Opening windows is a good idea, but not during the day. Instead, you want to open them during the night to let the cooler night air in.

3. Use Your Ceiling Fans

Even if you’ve got your AC on, it’s a good idea to use your ceiling fans. When spinning in the right direction, they’ll actually draw warmer air up and away from you.

Check that your fans are running counter clockwise to keep your home cool.


Conclusion

A reflective roof coating is one of the cheapest, easiest and most effective things you can do to beat the heat.

You’ll keep everyone in your home safe from the hot weather and feel the benefit instantly, as soon as you have the coating applied.


Categories
Emergency Roof Repair Services

Removing Snow from Roofs: 4 Techniques to Know

Snow is one of the worst enemies of your roof, luckily there are some techniques to help with removing snow from roofs, and protecting it in the future as well.

When left to collect on your roof, it causes all kinds of damage that’s costly to replace.

What do you do when snow lands on your roof?

Here are some of the most effective ways of removing snow from roofs, and ways of protecting it against snow damage.


Why Is Snow Such A Problem?

When you think of issues your roof faces, you’ll think of storms blowing tree branches onto the roof and knocking shingles off, or even punching holes through it.

Snow, on the other hand, doesn’t seem to be much of a problem.

What is it about snow that makes it such a danger to your roof?

– Water Damage

The problem is when your roof collects snow, which then melts but has nowhere to go.

The more water on your roof, the higher the risk of mold and mildew is.

If left unchecked for long enough, the water will get under the shingles and into the timbers of your roof, causing problems.

Rot can set in, which damages the roof and if left long enough, will lead to a roof replacement.

– Ice Dams

Then there’s the issue of ice dams. When snow falls on your roof, it will eventually start to melt off.

In a perfect system, the snow will melt into the gutters, where they will direct the water away from your house.

However, sometimes this isn’t what happens.

  • The heating from your home causes water to melt and run down to the gutters, where heat from the home can’t reach.
  • The water then freezes in the gutters, stopping more melted snow from escaping.
  • It refreezes and causes overflow, again risking water damage to your roof.

– Weight

Finally, there’s the issue with the weight of snow on your roof.

In most cases, you’ll never see a problem with weight.

That’s because if your roof is up to code, then you won’t see any damage to your roof.

However, if you experience an unusually heavy snowfall or your roof isn’t as sturdy as it should be, it can cause damage.

If you notice your upstairs interior doors are sticking, that’s a warning sign that the snow needs to be removed from your roof.


Removing Snow from Roofs (and How to Prevent Damage)

So you don’t want to experience damage to your roof due to snow.

What can you do?

There are several ways you can help with preventing snow from collecting, and removing snow from roofs safely.

Here’s a few methods you should consider before the colder weather comes around.

1. Insulate Your Home

Firstly, you’ll need to look at the insulation in your roof.

Ice dams often come about because the insulation isn’t enough to stop heat escaping your home.

When the heat comes through the roof, it melts snow which then refreezes in the guttering.

Now is the time to see if your insulation needs to be improved.

Take a look at it now, and you’ll see if it needs to be replaced.

In some cases, you can find assistance in insulating your roof, so take a look around to see what help is available.

2. Install Gutter Guards

You’ll have heard of regular gutter guards that are designed to keep leaves out of your gutters.

These are vital as they stop them getting clogged and overflowing onto your roof.

Did you know that you can buy versions that are designed to stop ice, too?

These gutter guards are heated, so when snow melts into the gutters, it can’t freeze up again and cause a blockage.

It stays warm, so it flows away easily and doesn’t cause any problems.

Now’s the time to install these guards on your home, so you can avoid ice dams forming.

3. Snow Brushes

If you’re worried about the weight of snow on your roof, then you can buy brushes that are designed to help you brush it off your roof.

They usually come with telescopic handles so you can reach every part of your roof without worry.

A word of warning, though:

If you’re removing snow from roofs, you should only do it from the ground.

It’s dangerous to get up on a ladder with snow and ice, so don’t risk it if you can’t get the snow off from the ground level of your home.

4. Call In An Expert

Finally, your last option is to call in a roofing expert to come remove the snow from your roof.

They’re able to access your roof safely, so it’s often much better to get them to do it, rather than attempting it yourself.

As well as this, they will be able to get every bit of snow off the roof, so there will be nothing left to cause any damage to your home.


What Happens After The Snow?

After the bad weather has subsided, it’s a good idea to inspect your roof, looking for any damage that may have occurred.

If you’ve followed the advice in this article, then you shouldn’t be up against anything much.

However, it’s always a good idea to check.

  • Get up on a ladder and take a look at the shingles. Have any come loose or are now missing? You’ll need to replace them ASAP. It’s usually a good idea to keep some shingles when you replace your roof, so you can easily grab some shingles that match your roof and replace them.
  • Check that there’s no ice in the gutters that’s causing ice dams and overflows. If you’re getting icicles on your gutters, that is a sign that they’re overflowing. If you’ve bought heated gutter guards though, this shouldn’t be a problem.
  • Get into your attic and take a look at your roof from the inside. If you see any moisture, there’s a leak somewhere in your roof that will need to be addressed.

With this guide, you can avoid the damage that snow brings to your roof. You also know the safety precautions to take when removing snow from roofs.

Install heated gutter guards, and check your roof to ensure that it’s in good condition.

Categories
Blog Home Improvement

Mold On Roof? Use These 11 Tips to Remove It

Mold on roof: this can cause serious harm to your home. Use these 11 tips to remove mold from your roof and keep your home safe and secure.

Without a doubt, your home’s roof is one of its most important structures. The roof provides support, climate control, and safety; it also adds value and aesthetics to the residence. It’s a major investment that will last many years if properly installed and maintained.

However, there is a silent attacker: mold on roof.

Although most people are aware of the ruinous effects of things like loose shingles, missing soffitt, and storm damage, few are able to recognize hazards posed by mold.

Following these guidelines you’ll learn how to identify a mold problem, how to prevent it, and how to get rid of it.


How to Identify You’ve Got a Mold Problem on Your Roof

Microbial overgrowth from algae, moss, mildew, and mold are common in homes located where there is high humidity, or insufficient roof drainage.

Unfortunately most homeowners mistakenly characterize the signs of a mold problem as a cosmetic issue or one of old age.

Here’s what you should look for when looking for mold on roof:


1. Know the difference between algae, moss, mildew and mold

You can’t properly that the problem unless you can accurately identify it. All three organisms pose their own set of complications.

  • Algae grows naturally and is normally harmless, but excessive growth in the right conditions causes property damage. It’s distinguished by its green or black-green color that resembles a surface stain. Algae is slick and slimy to the touch.
  • Moss is a normally benign organism that grows naturally in many areas. It’s obvious by its fuzzy bright green color.
  • Mildew isn’t a healthy organism. Its powdery residue spreads quickly in warm wet climates. Its color varies but is normally light gray-green.

Mold, unlike the other organisms, isn’t a healthy occurrence. It’s unattractive and often smells rancid.

Mold usually grows on moist wood or drywall and is identified by the dark splotches it leaves on the material’s surface.


2. Pay attention to odors

A vacation home that’s been closed up for awhile may smell musty, but if the odor continues after you’ve aired out the space then you may be facing a mold problem.

Odors originating from the attic space are a clear indication that you’re facing mold growth.


3. Prolonged illnesses can be a sign of mold on roof

There are lots of different kinds of mold; although only a relative few are considered toxic. Despite that, even non-toxic mold can still cause significant health problems.

Mold infestations have been found responsible for respiratory issues including infections, excessive runny nose and eyes, worsening of asthma, and even skin rashes.


4. Visual interior signs are evidence of an extensive outbreak

Water intrusion through a roof leak, even a small leak, into the attic and drywall space creates an optimal environment for mold growth. And because these areas are largely enclosed you won’t notice you’ve got a problem until it’s too late.

Discoloration along the joint between the ceiling and wall is a common indication of having a leak. You’ll also find paint around the windows starting to peel or bubble.

Roof mold affects wood in the attic and wood exposed for decorative purposes. Wood gets dark, splotchy, and will often soften.


How to Prevent Roof Mold From Developing

The easiest way to deal with mold on your roof is to prevent it from developing at all.

Take measures during your periodic roof inspection to reduce the circumstances that make your home vulnerable to mold growth.


5. Manicure shade trees

Keep branches of nearby trees trimmed about three feet from your roof line. Overhanging branches cause shade that prevents water from quickly evaporating. Trapped water is a breeding ground for microbial growth that starts generating mold on roof.


6. Keep gutters clean

Remove and dispose of debris, trash, and dirt that gets lodged in your gutters. Clean gutters let water drain from the roof onto the ground.

Clogged gutters trap water on the roof creating the perfect environment for mold to grow on your roof.


7. Install ridge vents

Ridge vents are installed at the peak of a sloped roof.

They allow warm wet air to escape the attic and roof structure. This air flow keeps those areas cooler and drier than they would be without a vent, making them less hospitable for mold, mildew, and other microbes.


8. Apply a moisture and/or microbial barrier

Roofing materials and technology has advanced greatly within the last few decades.

One of those advances is the ability to apply chemicals to your existing roof that repels water, or prevents algae and mold from developing. New roofs are often constructed of materials that have these properties impregnated into them.


Tips to Eradicate Mold From Your Roof

Despite your best intentions and preparation your home may still succumb to mold infestations on your roof.

Luckily, if you catch it early then you can take steps on your own to get rid of it.


9. Apply a bleach solution

A solution of equal parts bleach and tap water can be sprayed onto the affected area to kill the microbes. Allow the solution to penetrate the mold then rinse off with a normal garden hose.

Refrain from scrubbing or using a pressure washer; both can damage asphalt shingles.


10. Install copper or zinc strips

These metal strips prevent algae from growing. Some asphalt shingles are manufactured to include them, but older roofs may not have them.

You can install metal strips in strategic areas such as around the chimney.


11. Vinegar solutions work against moss

A solution of equal parts apple cider vinegar and water has long been touted as an effective herbicide and pesticide. Using it does kill algae and moss, but not mold.

And caution must be taken to protect nearby bushes and plants because overspray will damage them. Vinegar quickly changes the pH of the soil making it inhospitable to most plants.


Final Thoughts

The roof is a vital component of your home’s structure. When properly installed and maintained it provides years of service.

Regular maintenance and repairs, including that which addresses mold, is integral to the longevity of your roof.

Make sure you are able to identify microbial overgrowth and mold on your roof — and take steps to prevent it from developing. If you do wind up with microbial growth, catch it early to properly repair your roof and avoid potential disasters.


Categories
Blog Home Improvement

Sun Damage To Your Roof: What You Need to Know

Your roof is designed to take all kinds of damage, as it’s under attack every day. Rainfall washes away protective elements, and if it gets under your shingles it can cause all sorts of damage. Falling debris, like tree branches, can create holes in your roof if you’re not careful. But, have you ever thought about any sun damage to your roof?

Here’s why it’s a danger, and how you can protect your home’s roof from it.


The Sun And Your Roof

When you think about it, your roof is under attack by the sun almost every day.

It’s beating down heat and ultraviolet rays down on the tiles all day, every day.

You don’t think about the sun being damaging to your roof, as you think of roof damage as being more violent and sudden.

Don’t allow yourself to be lulled into a false sense of security, though.

If you want to keep your roof safe, you’re going to need to protect it against the sun.

How is the sun damaging your roof, and how can you stop it?


How The Sun Causes Damage To Your Roof

The damage the sun causes to your roof is slow, but effective. Once there is damage, there’s no going back.

Here are five common types of sun damage that occurs to your roof:

  • Heat dries up your roof tiles: Your roof tiles are made with oils, that are designed to help your roof expand and contract when needed. With the hot sun beating down on your roof, though, those oils can quickly dry up. Once there’s no more oil, the roof tiles can start tearing at the weatherproofing, creating gaps. Once those gaps are there, holes can form and serious leaks can happen.
  • Expanding and contracting can damage your roof: When your tiles get hot, they’ll expand with the heat. When the weather gets cooler at night, they’ll contract again. When the weather is hot, the tiles will expand and contract more dramatically. Again, this will open up your roof to damage, such as pulling flashing away from corners and letting water in.
  • UV damage breaks down your roof: Ultraviolet rays are invisible but incredibly dangerous. You know about protecting your skin from them, but did you know that you should protect your roof from them too? They will break down your roof tiles slowly but surely, leading to them coming apart and needing replacement.
  • Warping and cracking: This happens most often to materials such as plastic roofing materials. These materials can heat up quickly in the sun, changing shape. The stress can be too much, and they’ll crack and break, weakening your roof.
  • Bleaching of your tiles: If you’ve ever seen driftwood out on a beach, you’ll know how direct sunlight can bleach items. It can happen to your roof too. The side of your roof that’s in the most contact with the sun will often become bleached, fading to a lighter color than the rest of your tiles.


How To Avoid Sun Damage

That’s a lot of things that can go wrong with your roof, just by being in contact with the sun. How can you stop this sun damage?

Luckily, there are some actions you can take.

Here’s what you can do to avoid sun damage:

  • Inspect your roof: You should already be regularly inspecting your roof, to ensure that there’s no damage being done to it by rain and storms. During those inspections, look for sun damage too. The quicker you spot it, the easier it will be to rectify.
  • Change the materials you use: Stone panels or clay tiles are often used in hotter climates, as they can stand the heat better, and won’t change shape as much as regular roof tiles will. Similarly, metal roofs help to keep your home cool and help reduce sun damage.
  • Pick your color carefully: Sun bleaching isn’t a major problem, but if you’re worried about your tiles looking worn, you can avoid it. When you change your tiles, pick a grey, tan, or white tile color. These are the least likely to bleach and will stay looking good in the sun.
  • Try a reflective roof coating: There are ways to bounce heat and UV radiation back off your roof, lessening the damage they do. A reflective coating on your roof could be the way forward. Some tiles already come with the coating, so if you’re replacing your tiles keep an eye out for them.
  • Stay off your roof: If you need to get up and look at your roof, make sure you’re not walking on it if at all possible. The more you walk across your roof, the more damage you’re likely to do to it. You want to lessen the damage happening, so stay off it as much as you can.
  • Don’t be afraid to replace your roof: There are times when you’re going to have to replace your roof, either in part or in full. Don’t be afraid to do this. The roof you have now may not be the best one for sunny weather, and so by replacing your roof you’re making it that much stronger.


Call In A Roofer For An Expert Opinion

Some homeowners aren’t too confident about checking their own roof for damage.

After all, they’re not sure exactly what’s damage, and what’s normal for their roof.

Does this sound like you? If so, the best thing to do will be to call in a certified roofer to handle the check for you.

It’s amazing what kinds of sun damage can attack your roof.

Heat and UV rays are dangerous, causing breaks and cracks in the roof that invite further damage over time. If you keep on top of the repairs though, you’ll have a roof that can stand up to all kinds of weather.

Categories
Blog Uncategorized

Crucial Maintenance Steps to Take On Your Roof

The roof is an integral part of your home, as it’s what keeps the elements out of your home. In order to keep your roof great in terms of structure and looks, there are certain steps that are going to need to be taken. These steps can be performed safely and efficiently when you seek help from a Roofing Northern VA company.

Shingles are crucial to maintain on your roof. If they become cracked or chipped, they need to be replaced. Otherwise, water could seep between them and cause severe water damage. Roofing specialists can remove shingles from your home quickly, as they have a tool called a roofing spade. This tool has metal points on the end, which allow repair specialists to remove shingles in one smooth, easy motion.

After damaged shingles have been removed, professionals will secure new shingles to your roof using a coil roofing nailer. This device, once hooked up to an air compressor, shoots out nails at fast speeds. This allows professionals to secure nails to shingles without having to exert a lot of energy. These nailers have shingle guides on them, helping professionals line up shingles evenly before securing them to your roof.

Sometimes the flashing around your skylights may break apart, letting water seep through. You don’t have to worry, though, as roof specialists can put an adhesive sealant around the flashing. This sealant is temperature-resistant. So no matter how hot or cold it gets outside, the sealant will not break down. The adhesive sealant is also waterproof, preventing water from breaking it down as well. Thanks to these roof specialists, you don’t have to worry about a thing in regards to the condition of your roof.

When it comes to your roof, the steps above are important to consider. They can be done correctly when you get help from a Roofing Northern VA company. They will do everything in their power to give you a roof that is in pristine condition.


If you are reading this on any other blog than Piedmont Roofing or via my RSS Feed, it is stolen content without credit.
You can find me on Twitter via @MikeOnARoof
Come and visit our blog at https://piedmontroofing.com/blog

Categories
Blog Residential Roofing

Asphalt Shingles Installation Guidelines

There are many benefits to having an asphalt shingles or tile roof, however before you can be happy with a job well done you will need to do a good deal of prep work. The following tips will give you the basics of what you can expect during your next asphalt shingles roofing installation project.

Guidelines for Installing Asphalt Shingles

The following are all the guidelines you should take into consideration when installing asphalt shingles.

Underlayment

You should begin by making sure you have the proper layer of underlayment and the roof edging. Without them you will not be able to create a good, stable and waterproof roof. Make sure you are as thorough as possible or otherwise you will experience a great deal of problems further down the line.

Permit

Once you have a proper permit if you needed to obtain one, you should strip your floor clean and then nail the drip edge flashing along the eave of your roof.

Research

The heavy rains of sudden storms or persistent melting snow can eventually force water down between even the best of shingles. The worst you can ever experience in most cases are the so-called ice dams. These are essentially areas of frozen water or snow which stick around on the edges of the roof. These can absolutely destroy the lower shingles of the roof, thus allowing water to drip inside your home. You should guard against it by applying some waterproof underlayment which acts like a barrier against the ice. You can easily find them at roofing supply stores or centers. There may be specific rules about its installation, so check up with your local building inspector to ensure you’re doing it right.

Layering

Make sure you cover the rest with a asphalt-saturated felt underlayment. The layers must overlap each other by 2 inches at least. You should follow this by nailing a drip edge on the rakes of the roof and the top of the underlayment. Much like it is with the flashing, you should always make sure the pieces overlap each other at all times. The felt you’re installing will help keep the roof dry before you apply the shingles and will protect you against heavy rain and storms.

Shingling

Find the center of the roof at the eave and the top and then put a vertical chalk line. You can use that to begin the shingling, working to the left and right at the rakes. Manufacturers of shingles often recommend you start working at the left edge. Make sure to check out the packages and what they say about it.

The first few rows of shingles on the roof need a line of shingles with cut tabs. You should apply them on the eave with adhesive strip. Make sure the row is overhanging a bit and beyond the drip edge. This so-called starter course will protect the roof by filling in the joints of the following row of shingles below them.

Once you’re done with this you should nail the first of the rows of shingles right on the top of the starter course. Use four nails per shingle or as it is explained on the package, depending on the amount of wind in the area.

Exit mobile version